User account (FREE)
Each GitLab account has a user profile, which contains information about you and your GitLab activity.
Your profile also includes settings, which you use to customize your GitLab experience.
Access your user profile
To access your profile:
- On the top bar, in the top-right corner, select your avatar.
- Select your name or username.
Access your user settings
To access your user settings:
- On the top bar, in the top-right corner, select your avatar.
- Select Edit profile.
Change your password
To change your password:
- On the top bar, in the top-right corner, select your avatar.
- Select Edit profile.
- On the left sidebar, select Password.
- In the Current password text box, enter your current password.
- In the New password and Password confirmation text box, enter your new password.
- Select Save password.
If you don't know your current password, select the I forgot my password link.
Change your username
Your username has a unique namespace, which is updated when you change your username. Before you change your username, read about how redirects behave. If you do not want to update the namespace, you can create a new user or group and transfer projects to it instead.
Prerequisites:
- Your namespace cannot contain a project with Container Registry tags.
- Your namespace cannot have a project that hosts GitLab Pages. For more information, see this procedure in the GitLab Team Handbook.
To change your username:
- On the top bar, in the top-right corner, select your avatar.
- Select Edit profile.
- On the left sidebar, select Account.
- In the Change username section, enter a new username as the path.
- Select Update username.
Add emails to your user profile
To add new email to your account:
- On the top bar, in the top-right corner, select your avatar.
- Select Edit profile.
- On the left sidebar, select Emails.
- In the Email text box, enter the new email.
- Select Add email address.
- Verify your email address with the verification email received.
Make your user profile page private
You can make your user profile visible to only you and GitLab administrators.
To make your profile private:
- On the top bar, in the top-right corner, select your avatar.
- Select Edit profile.
- Select the Private profile checkbox.
- Select Update profile settings.
The following is hidden from your user profile page (https://gitlab.example.com/username):
- Atom feed
- Date when account was created
- Tabs for activity, groups, contributed projects, personal projects, starred projects, snippets
NOTE: Making your user profile page private does not hide your public resources from the REST or GraphQL APIs.
User visibility
The public page of a user, located at /username, is always visible whether you are signed-in or
not.
When visiting the public page of a user, you can only see the projects which you have privileges to.
If the public level is restricted, user profiles are only visible to signed-in users.
Add details to your profile with a README
Introduced in GitLab 14.5.
If you want to add more information to your profile page, you can create a README file. When you populate the README file with information, it's included on your profile page.
To add a README to your profile:
- Create a new public project with the same project path as your GitLab username.
- Create a README file inside this project. The file can be any valid README or index file.
- Populate the README file with Markdown.
To use an existing project, update the path of the project to match your username.
Add external accounts to your user profile page
You can add links to certain other external accounts you might have, like Skype and Twitter. They can help other users connect with you on other platforms.
To add links to other accounts:
- On the top bar, in the top-right corner, select your avatar.
- Select Edit profile.
- In the Main settings section, add your information from:
- Skype
- Select Update profile settings.
Show private contributions on your user profile page
In the user contribution calendar graph and recent activity list, you can see your contribution actions to private projects.
To show private contributions:
- On the top bar, in the top-right corner, select your avatar.
- Select Edit profile.
- In the Main settings section, select the Include private contributions on my profile checkbox.
- Select Update profile settings.
Add your gender pronouns
Introduced in GitLab 14.0.
You can add your gender pronouns to your GitLab account to be displayed next to your name in your profile.
To specify your pronouns:
- On the top bar, in the top-right corner, select your avatar.
- Select Edit profile.
- In the Pronouns text box, enter your pronouns.
- Select Update profile settings.
Add your name pronunciation
Introduced in GitLab 14.2.
You can add your name pronunciation to your GitLab account. This is displayed in your profile, below your name.
To add your name pronunciation:
- On the top bar, in the top-right corner, select your avatar.
- Select Edit profile.
- In the Pronunciation text box, enter how your name is pronounced.
- Select Update profile settings.
Set your current status
Introduced in GitLab 13.10, users can schedule the clearing of their status.
You can provide a custom status message for your user profile along with an emoji that describes it. This may be helpful when you are out of office or otherwise not available.
Your status is publicly visible even if your profile is private.
To set your current status:
- On the top bar, in the top-right corner, select your avatar.
- Select Set status or, if you have already set a status, Edit status.
- Set the desired emoji and status message. Status messages must be plain text and 100 characters or less.
They can also contain emoji codes like,
I'm on vacation :palm_tree:. - Select a value from the Clear status after dropdown list.
- Select Set status. Alternatively, you can select Remove status to remove your user status entirely.
You can also set your current status by using the API.
If you select the Busy checkbox, remember to clear it when you become available again.
Set a busy status indicator
- Introduced in GitLab 13.6.
- It was deployed behind a feature flag, disabled by default.
- Became enabled by default in GitLab 13.8.
- Feature flag removed in GitLab 13.12.
To indicate to others that you are busy, you can set an indicator.
To set the busy status indicator, either:
-
Set it directly:
- On the top bar, in the top-right corner, select your avatar.
- Select Set status or, if you have already set a status, Edit status.
- Select the Busy checkbox.
-
Set it on your profile:
- On the top bar, in the top-right corner, select your avatar.
- Select Edit profile.
- In the Current status section, select the Busy checkbox.
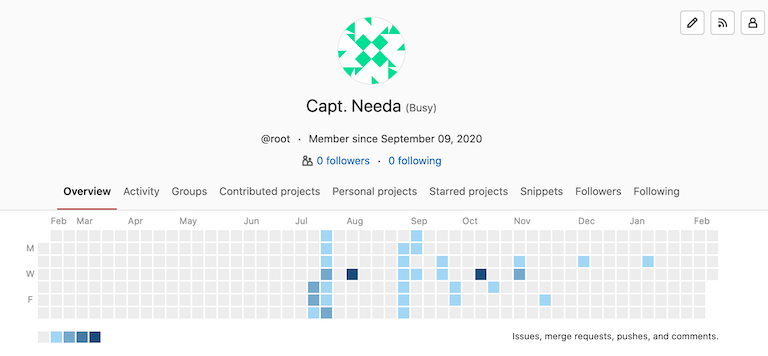
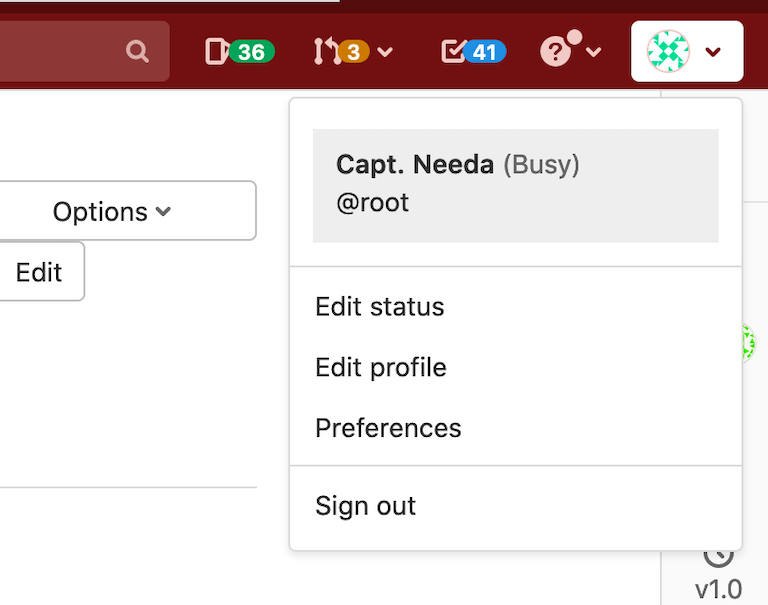
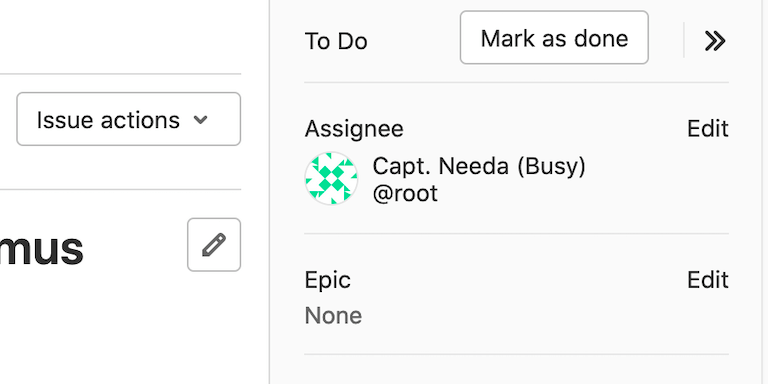
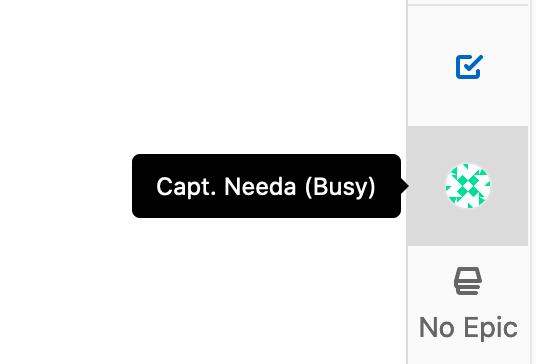
The busy status is displayed in the user interface.
Username:
Profile page Settings menu User popovers 
Issue and merge request sidebar:
Sidebar Collapsed sidebar Notes:
Notes Note headers

Set your time zone
You can set your local time zone to:
- Display your local time on your profile, and in places where hovering over your name shows information about you.
- Align your contribution calendar with your local time to better reflect when your contributions were made (introduced in GitLab 14.5).
To set your time zone:
- On the top bar, in the top-right corner, select your avatar.
- Select Edit profile.
- In the Time settings section, select your time zone from the dropdown list.
Change the email displayed on your commits
A commit email is an email address displayed in every Git-related action carried out through the GitLab interface.
Any of your own verified email addresses can be used as the commit email. Your primary email is used by default.
To change your commit email:
- In the top-right corner, select your avatar.
- Select Edit profile.
- In the Commit email dropdown list, select an email address.
- Select Update profile settings.
Change your primary email
Your primary email:
- Is the default email address for your login, commit email, and notification email.
- Must be already linked to your user profile.
To change your primary email:
- In the top-right corner, select your avatar.
- Select Edit profile.
- In the Email field, enter your new email address.
- Select Update profile settings.
Set your public email
You can select one of your configured email addresses to be displayed on your public profile:
- In the top-right corner, select your avatar.
- Select Edit profile.
- In the Public email field, select one of the available email addresses.
- Select Update profile settings.
Use an automatically-generated private commit email
GitLab provides an automatically-generated private commit email address, so you can keep your email information private.
To use a private commit email:
- On the top bar, in the top-right corner, select your avatar.
- Select Edit profile.
- In the Commit email dropdown list, select Use a private email.
- Select Update profile settings.
Every Git-related action uses the private commit email.
To stay fully anonymous, you can also copy the private commit email and configure it on your local machine by using the following command:
git config --global user.email <your email address>Troubleshooting
Why do I keep getting signed out?
When you sign in to the main GitLab application, a _gitlab_session cookie is
set. When you close your browser, the cookie is cleared client-side
and it expires after "Application settings > Session duration (minutes)"/session_expire_delay
(defaults to 10080 minutes = 7 days) of no activity.
When you sign in to the main GitLab application, you can also check the
Remember me option. This sets the remember_user_token
cookie via devise.
The remember_user_token cookie expires after
config/initializers/devise.rb -> config.remember_for. The default is 2 weeks.
When the _gitlab_session expires or isn't available, GitLab uses the remember_user_token
to get you a new _gitlab_session and keep you signed in through browser restarts.
After your remember_user_token expires and your _gitlab_session is cleared/expired,
you are asked to sign in again to verify your identity for security reasons.
NOTE: When any session is signed out, or when a session is revoked via Active Sessions, all Remember me tokens are revoked. While other sessions remain active, the Remember me feature doesn't restore a session if the browser is closed or the existing session expires.
Increased sign-in time
Introduced in GitLab 13.1.
The remember_user_token lifetime of a cookie can now extend beyond the deadline set by config.remember_for, as the config.extend_remember_period flag is now set to true.
GitLab uses both session and persistent cookies:
- Session cookie: Session cookies are normally removed at the end of the browser session when
the browser is closed. The
_gitlab_sessioncookie has no fixed expiration date. However, it expires based on itssession_expire_delay. - Persistent cookie: The
remember_user_tokenis a cookie with an expiration date of two weeks. GitLab activates this cookie if you select Remember Me when you sign in.
By default, the server sets a time-to-live (TTL) of 1-week on any session that is used.
When you close a browser, the session cookie may still remain. For example, Chrome has the "Continue where you left off" option that restores session cookies.
In other words, as long as you access GitLab at least once every 2 weeks, you could remain signed in with GitLab, as long as your browser tab is open.
The server continues to reset the TTL for that session, independent of whether 2FA is installed,
If you close your browser and open it up again, the remember_user_token cookie allows your user to reauthenticate itself.
Without the config.extend_remember_period flag, you would be forced to sign in again after two weeks.
Related topics
- Create users
- Sign in to your GitLab account
- Receive emails for sign-ins from unknown IP addresses or devices
- Manage applications that can use GitLab as an OAuth provider
- Manage personal access tokens to access your account via API and authorized applications
- Manage SSH keys to access your account via SSH
- Change your syntax highlighting theme
- View your active sessions and revoke any of them if necessary